01. Project Specification
Project Specification
Typically, path planning algorithms are applied on known maps. However, in this project, you’ll have to search almost blindly, which makes for a challenging problem. Here’s what we know about the maze:
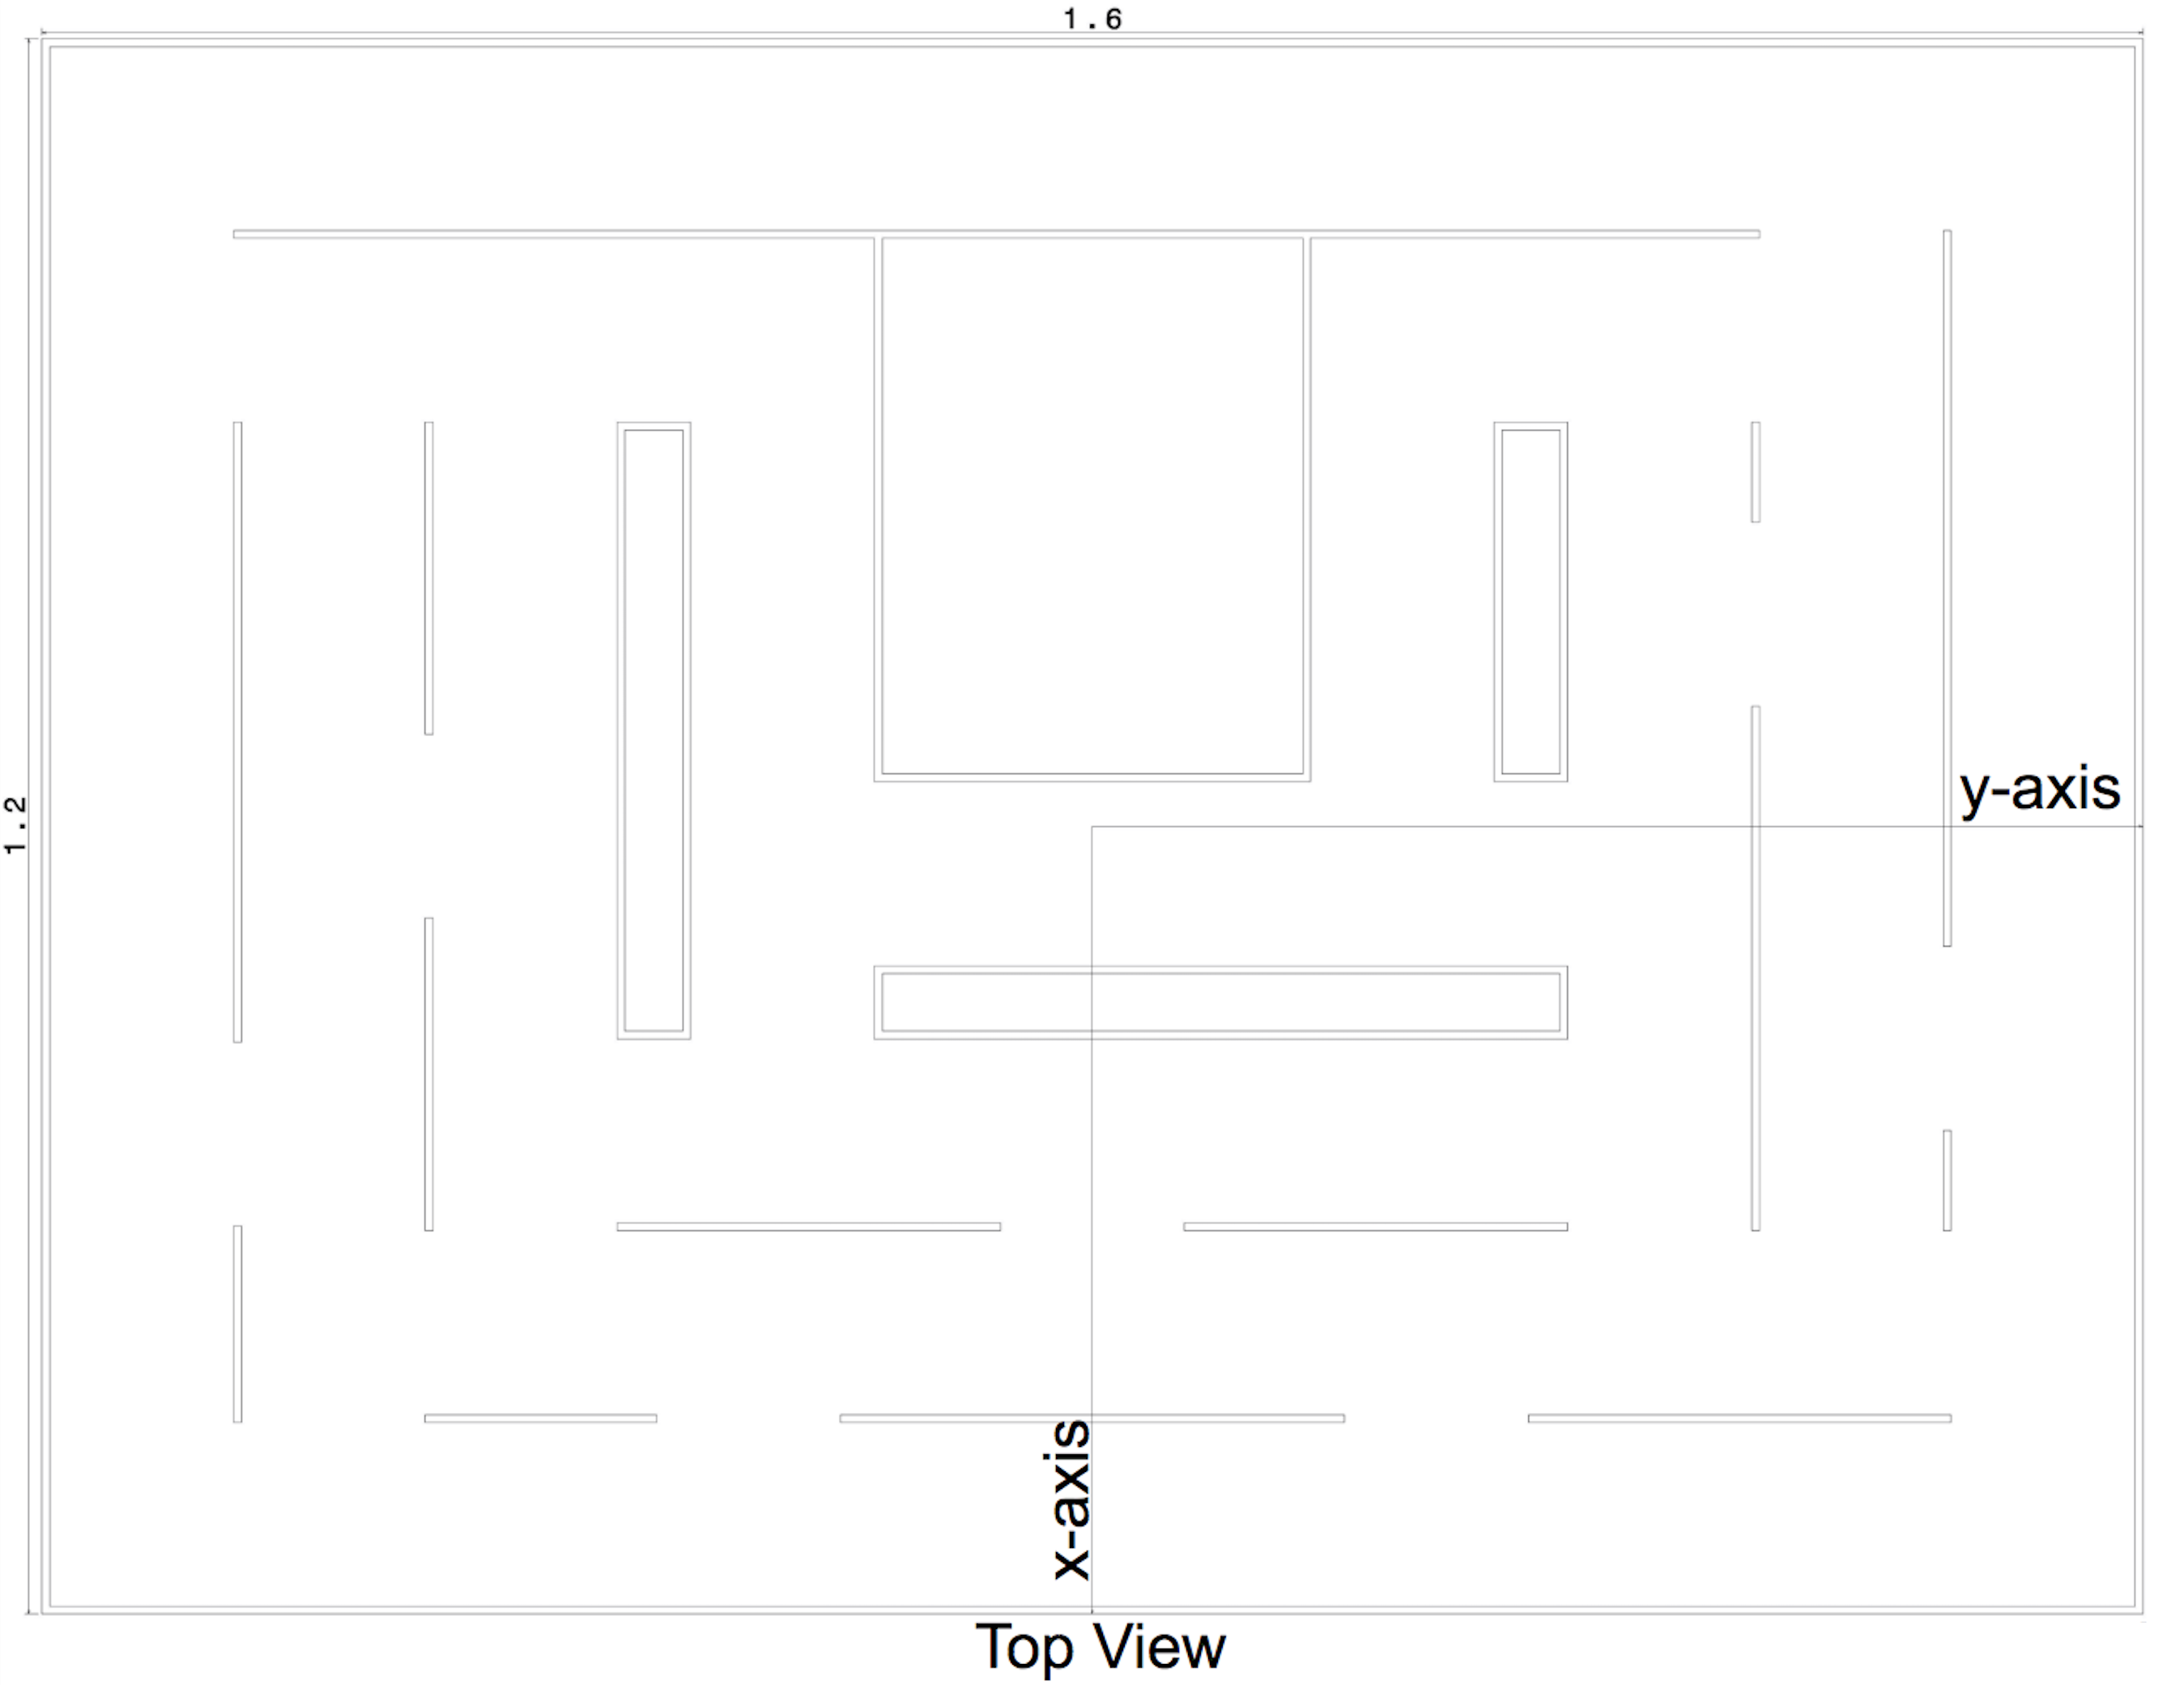
Only its width, and length!
In addition to the maze dimensions (1.2m x 1.6m), the
start and goal states
are provided as inputs to your algorithm. The
path toward the goal state
is your output.
Inside a launch file, you’ll edit the start pose and the goal pose of the object.
Since the map is unknown and the object is not equipped with any sensor, you might be wondering…how do we detect obstacles and move the cuboid object with the robotic arm?
We’ve included two services that you can call in your python script;
Move
and
CheckPath
:
-
Move: Command the robot by sending a 2D pose. The robot will move the object on a linear path to this pose. Your moving point should be at least 5mm away from the starting one. And if you are to rotate the arm, then you need to make sure you are rotating by at least 0.35 radians. -
CheckPath: Verify if a linear path between two 2D poses is valid.
Note : Even if you gain familiarity with the maze through repetition or by examining videos and logs, your algorithm must not be permitted to make use of this knowledge by hard-coding the map or learning from previous episodes. Each time the robot begins its maze problem, it should be completely ignorant of where the walls are or what the map of the maze looks like!
To summarize, you will have two main files to edit in this project: a launch file where you can specify the start/goal poses, and a python script to code your path planning algorithm.
There are 4 launch files in this project which you’ll launch later to start the Gazebo and RVIZ simulation, and all the other nodes:
- moveit_planning_execution.launch (rll_planning_project package): Starts the setup simulation in Gazebo and Rviz.
- planning_iface.launch (rll_planning_project package): Starts the planning interface.
- path_planner.launch (rll_planning_project package): Starts your path planning algorithm code.
- run_project.launch (rll_project_runner package): Starts a single planning and path execution.
You'll have a chance to launch each of these files separately in different terminals or use a provided shell script file that will launch all the nodes in separate instances of xterm terminals. The first method is preferable for debugging since you can easily identify the errors.